
Shut Down Your Android Device by Making a Call From Another Phone 🔰
Step 1. First of all, download and install the Automateit app. This app needs root access. So, make sure to grant the root permission.
Step 2. Next, select ‘My Rules’ and tap on the (+) icon.
Step 3. In the next screen tap on the ‘Call State Trigger’
Step 4. Now, choose the option ‘Incoming Call’
Step 5. In the next step, select the contact. You can choose from saved contacts or can create a new one.
Step 6. Now tap on ‘Next’ and on the next screen, select ‘Shutdown Device Action’
Step 7.Now you need to provide the name for the rule and save the rule.
Now you just need to make a call from the contact you specified and your Android device will be shut down.
➖ @TechM_8 ➖
👍3
Forwarded from Hacking Python Course Coding
This media is not supported in your browser
VIEW IN TELEGRAM
This media is not supported in your browser
VIEW IN TELEGRAM
🔰 How to View Saved Wifi Password Using CMD In Windows 🔰
Simple video tutorial made to explain you how to view saved wifi passwords in your windows device.
➖ @TechM_8 ➖
Simple video tutorial made to explain you how to view saved wifi passwords in your windows device.
➖ @TechM_8 ➖
🔥2👍1
Forwarded from Hacking Python Course Coding
This media is not supported in your browser
VIEW IN TELEGRAM
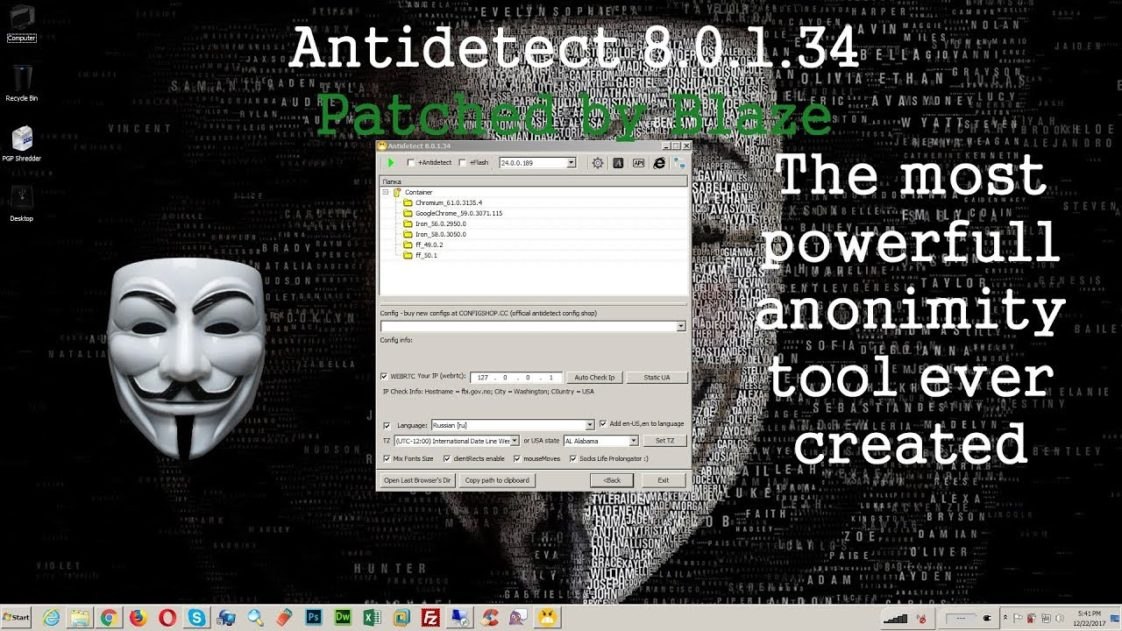
🔰Antidetect Browser 8.0 Full🔰
🌐Antidetect Browser 8.0 Full With 7892 New Browser Configs 2020
⭕️Link:
bit.ly/30ce5AT
🔺Share And Support Us🔻
➖ @TechM_8 ➖
🌐Antidetect Browser 8.0 Full With 7892 New Browser Configs 2020
⭕️Link:
bit.ly/30ce5AT
🔺Share And Support Us🔻
➖ @TechM_8 ➖
👍2
Forwarded from Hacking Python Course Coding
This media is not supported in your browser
VIEW IN TELEGRAM
🔰 50GB+ Udemy Premium Paid Courses Downloaded & Uploaded on Mega🔰
https://mega.nz/folder/Sw8Qgarb#zqBiBYbth58oncNOHon8eg
➖ @TechM_8 ➖
https://mega.nz/folder/Sw8Qgarb#zqBiBYbth58oncNOHon8eg
➖ @TechM_8 ➖
👍1
Forwarded from Hacking Python Course Coding
This media is not supported in your browser
VIEW IN TELEGRAM
👍1
🔰Fraud Bible Pack🔰
🌀A-Z Everything you about FRAUD with tools, samples, templates, tutorials and more.
🗂Contains 4 Packs Of Fraud Bibles
⭕️Link:
bit.ly/3fmaXa1
🔺Share And Support Us🔻
➖ @TechM_8 ➖
🌀A-Z Everything you about FRAUD with tools, samples, templates, tutorials and more.
🗂Contains 4 Packs Of Fraud Bibles
⭕️Link:
bit.ly/3fmaXa1
🔺Share And Support Us🔻
➖ @TechM_8 ➖
👍4
Forwarded from Hacking Python Course Coding
This media is not supported in your browser
VIEW IN TELEGRAM
🔰AWAE Full Pack – Books + Materials🔰
🌀Advanced Web Attacks and Exploitation (AWAE) is an advanced web application security review course.this course teach the skills needed to conduct white box web app penetration tests.
⭕️Link:
bit.ly/39N0suZ
🔺Share And Support Us🔻
➖ @TechM_8 ➖
🌀Advanced Web Attacks and Exploitation (AWAE) is an advanced web application security review course.this course teach the skills needed to conduct white box web app penetration tests.
⭕️Link:
bit.ly/39N0suZ
🔺Share And Support Us🔻
➖ @TechM_8 ➖
👍3
Forwarded from Hacking Python Course Coding
This media is not supported in your browser
VIEW IN TELEGRAM
👍1
🔰How To Get Gmail On Telegram🔰
1️⃣ Open the Gmail bot in the Telegram app. To get started you can visit this Gmail bot link and allow it to open the Telegram client. Alternatively, you can also send a direct message to @gmailbot.
2️⃣ You will get a quick explanation message telling you what this bot can do. Click “Start” to continue.
3️⃣ To enable the bot to do its job, you need to authorize it to set up Gmail integration. The bot will try to open the Gmail integration link. Tap “Open” to proceed.
4️⃣ Choose one of your Gmail accounts that you want to use with Telegram.
5️⃣ You need to allow Gmail bot for Telegram to manage your Gmail account via Telegram. Click the “Allow” button.
6️⃣ After everything is set up correctly you will have a channel dedicated to your Gmail and will start receiving emails in your Telegram client.
⭕ Note: This Bot enable's you to send and Receive any kind of email in your gmail Account.
➖ @TechM_8 ➖
👍3❤2🔥1
Forwarded from Hacking Python Course Coding
This media is not supported in your browser
VIEW IN TELEGRAM
♦️How to Install a Complete Linux Distro on Android♦️
For users who want to experience a complete desktop OS on their Android phone, especially tech-savvy people who don’t want to carry around a laptop or tablet, it’s entirely possible to install a fully-functional Linux OS on your Android phone.
You will need a rooted phone for this operation – you can search Appuals for a root guide for your device if you aren’t already rooted. Once you’re rooted though, the process is fairly simple.
Requirements
BusyBox
VNC Viewer
Linux Deploy
🔺The first thing you’ll want to do is install BusyBox – either directly from Google Play store, or the Magisk BusyBox module if you’re rooted with MagiskSU.
If you install BusyBox from the Google Play store, you just need to download the app, launch it, and hit the “Install” button from inside the app.
🔺If you’re rooted with MagiskSU, you need to launch Magisk Manager and go to Settings, then enable the “Enable Busybox” button, which will utilize Magisk’s built-in BusyBox for your device.
What BusyBox does is allow your Android system to use Linux commands normally not accessible to you – many root apps depend on this. With BusyBox installed, you’re now going to launch Linux Deploy on your device.
🔺In the Linux Deploy menu, choose “Download”, and then you’ll be presented with an options menu. Here is where you’ll configure your Linux distro before it’s installed, and I’ll explain the important settings:
🔺Distribution – Choose your Linux distro to install. There’s quite a large list, but the most user-friendly would be Ubuntu.
Distribution suite – Choose a version of the Linux distro you selected above.
Architecture – Do not change this, it is automatically selected based on your device.
Image size (MB) – The default is 512, but you should change this to a higher available number. Just don’t enter a number greater than 4095mb.
SSH Settings – You’ll need to change the default port of 22 here, but Android devices can only use ports about 1024. Most users would opt for port 2222.
Custom mounts – If you want to access your Android filesystem from within the Linux distro, go to “Mount points” and choose the ones you need. If you cannot enable the internal storage, change the default storage mount /storage/emulated/0 to /data/media/0.
🔺You should set your username to “root” – this will give you permanent super-user access inside the Linux distro. When everything has been configured, press the Install button, and after it’s finished, you may launch the Linux distro with the Start button – but this will launch it in chroot, which is like a command-line terminal. So we need to access the GUI using the VNC Viewer tool.
🔺Launch VNC and set the address to “localhost:5900” and enter your password. You now have a fully-functioning Linux desktop OS on your Android phone. You may want to begin installing Linux apps, which is done through the Linux terminal. Here are a few worth grabbing (use the commands in the terminal):
LibreOffice – apt-get install libreoffice
Firefox – apt-get install iceweasel
Python Idle – apt-get install idle
GIMP – apt-get install gimp
DropBox – apt-get install nautilus-dropbox
➖ @TechM_8 ➖
Forwarded from Hacking Python Course Coding
This media is not supported in your browser
VIEW IN TELEGRAM
🔰WarZone RAT 1.7.1🔰
🌀Features:
Control computers remotely at 60 FPS!
Use mouse and keyboard to control remote computers.
Remote Desktop feature is realized with a specially crafted VNC module.
Elevate to Administrator with just 1 click.
And Many More
⭕️Link:
bit.ly/2Dsm5oA
🔺Share And Support Us🔻
➖ @TechM_8 ➖
🌀Features:
Control computers remotely at 60 FPS!
Use mouse and keyboard to control remote computers.
Remote Desktop feature is realized with a specially crafted VNC module.
Elevate to Administrator with just 1 click.
And Many More
⭕️Link:
bit.ly/2Dsm5oA
🔺Share And Support Us🔻
➖ @TechM_8 ➖
👍2
Forwarded from Hacking Python Course Coding
This media is not supported in your browser
VIEW IN TELEGRAM
🔰Netflix AIO Source Code🔰
🗂Features:
Account Checker
Valid Email Checker
Gift Card Generator
Proxies Support
High CPM
⭕️Link:
bit.ly/2DNXVEQ
🔺Share And Support Us🔻
➖ @TechM_8 ➖
🗂Features:
Account Checker
Valid Email Checker
Gift Card Generator
Proxies Support
High CPM
⭕️Link:
bit.ly/2DNXVEQ
🔺Share And Support Us🔻
➖ @TechM_8 ➖
Forwarded from Hacking Python Course Coding
This media is not supported in your browser
VIEW IN TELEGRAM